|
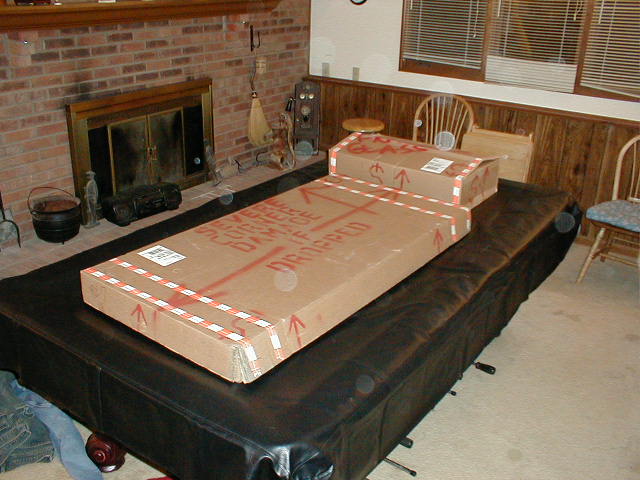
This is how it all began on March 13, 2002.

After opening the big box you see all that empty space but then realize all the skins are inside one another.
The spars are located under a cardboard liner. This is getting fun.
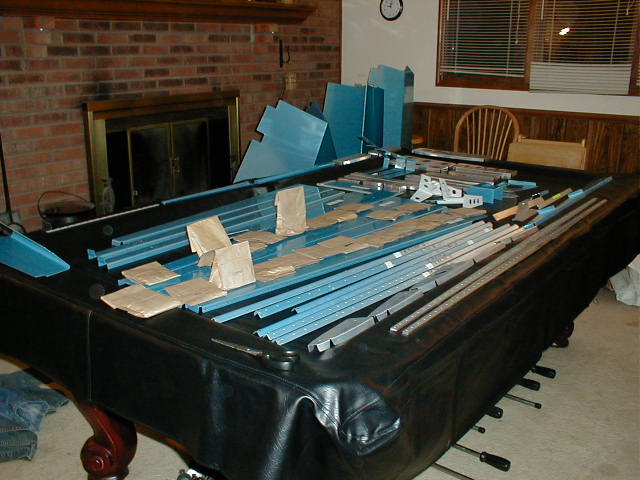
Van's gives you a little while to inventory all your parts. Be sure and do this before you start.
I was missing one small brown bag of washers and misc. hardware. I called them up and got the bag sent out that day.
Great people to work with.
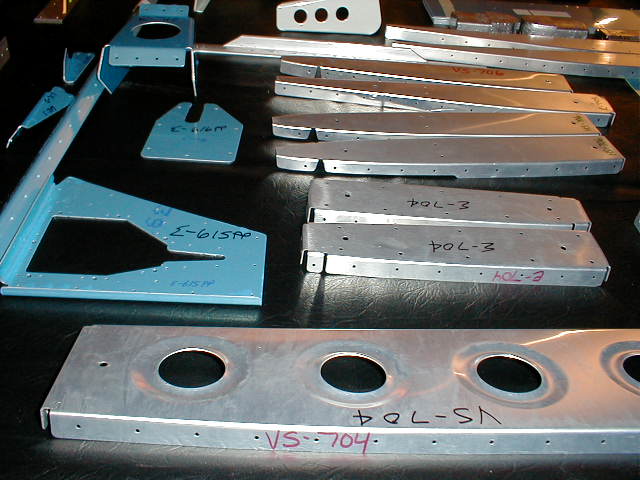
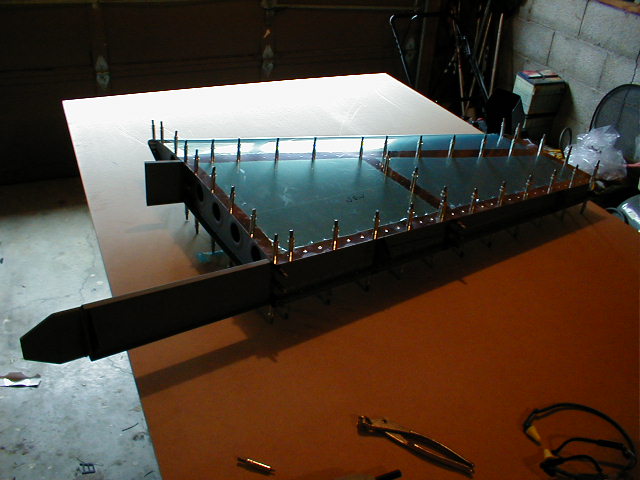
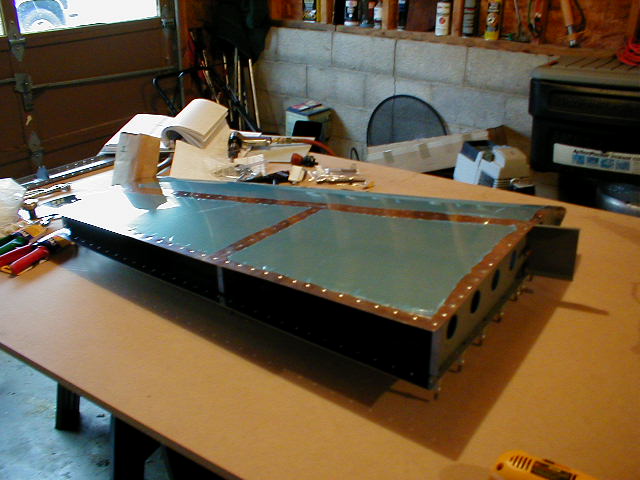
This is the reason RV-7 kits shipped after 2/02 are so easy to assemble. Note all of the pre punched
ribs. No more gigs, as the rear spars are the last parts to get riveted to the sub assemblies.
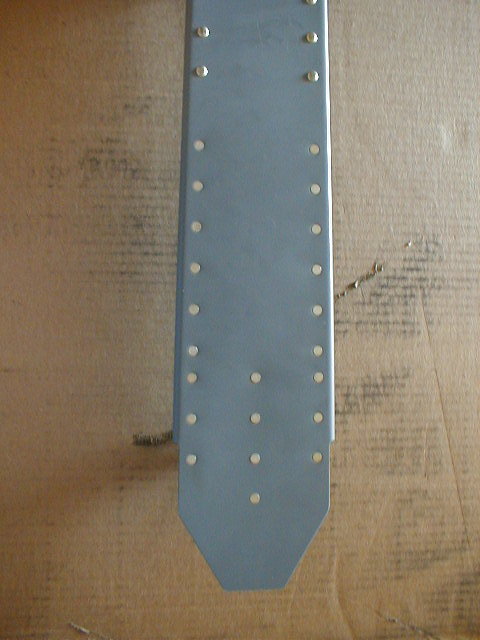
Some of my first riveting. I was quite proud of this!! Got to do flush and universal.
Trust me, you will get very good at riveting.
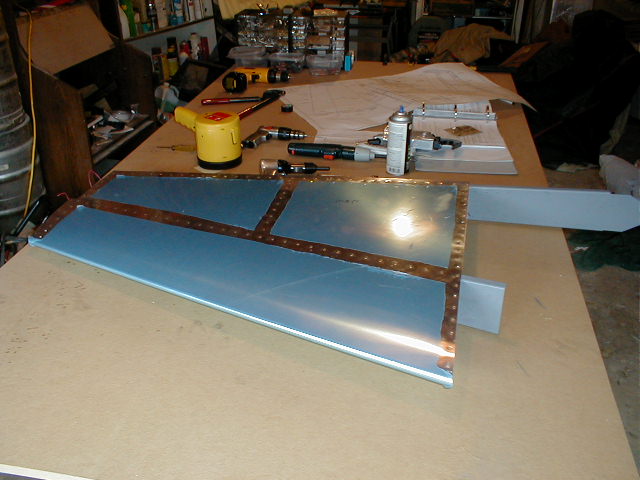
Everything clecoed together for final drilling. I used a soldering iron to melt the blue plastic as
I peeled it up. Careful, or you will scratch the skin.
Skeleton primed for final assemble. I used NAPA 7220 self etching primer in a rattle can. Worked
great for me.
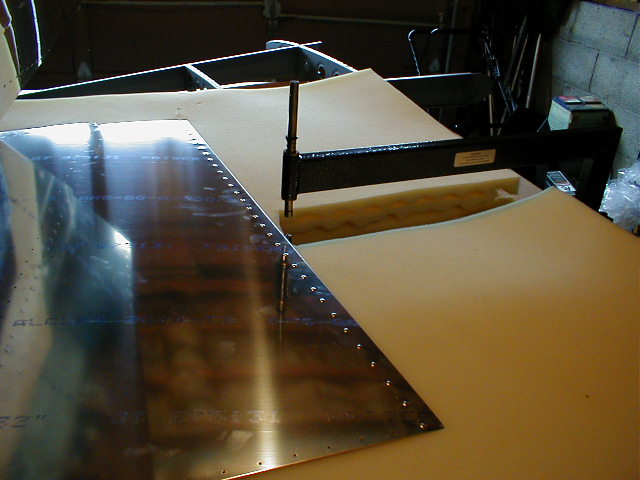
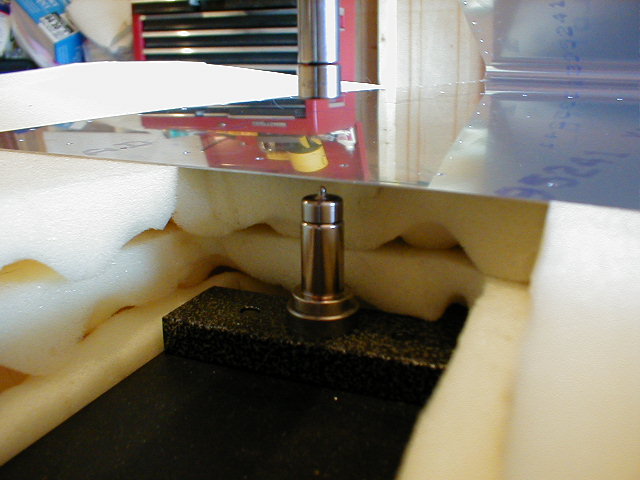
My four 1" camp pad C-clamp table. This easily allows you to compress the foam and skin over the male
dimple die. No scratching your skins and you can move it off your bench. Insta dimple bench. You can see
in the picture below, you only compress the foam 1/4" to reach the die.
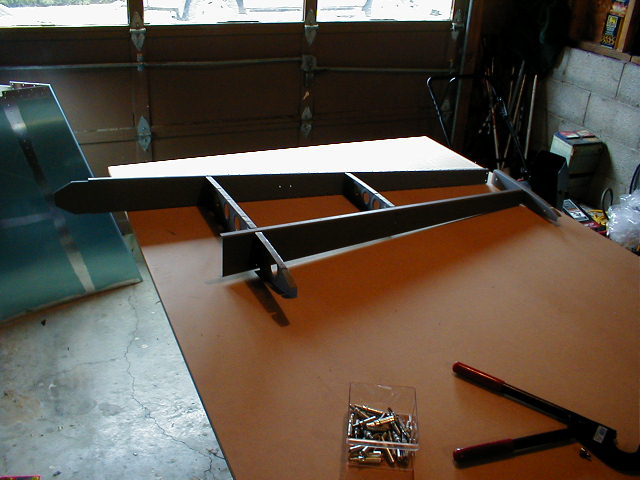
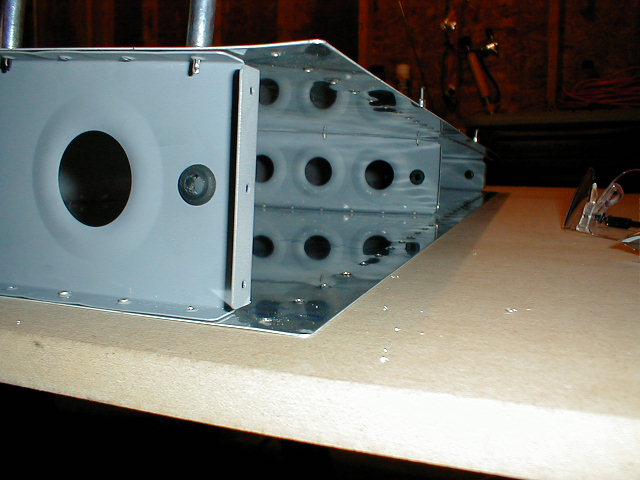
All you do with the post 2/02 pre punched 7 kits is reach up inside the VS from where the rear spar would
attach and buck the rivets. No more gig, no more flexing the skins. It is very, very easy for one person to do.
Start in the center and work your way out and aft.
If you are planning on any electrical components on the top of the VS, it is time to drill these holes through
the ribs now. These are rubber groumets, with a little epoxy for good measure. I don't know for sure if I will
be using this as a conduit, but I wanted to have the ability to use it if I wanted.
Four days and 10 hours.........one vertical stab. I'm proud of this little baby. Be careful
and leave out the six rivets on the bottom skin/rib. This is where you will attach your fairing.
|