|
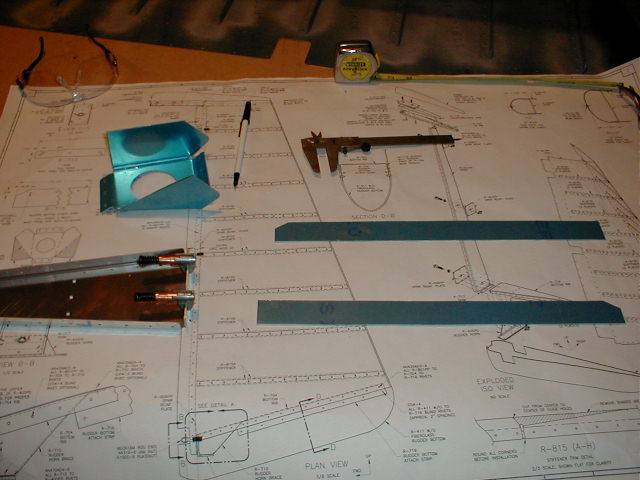
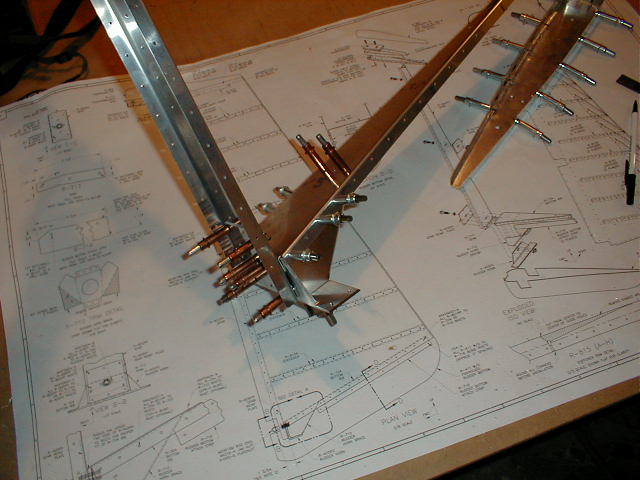
I've cut the 717 shim that goes between the 405 and 802PP spar and clamped it on. The two 716
rudder bottom attach strips are cut out of raw material provided with the emp. Yes, you do have to fabricate these on
the pre punched kit. I guess Van's just wants you fabricating something:-) No big deal, just follow the plans,
no secrets here. The rudder horn brace gets trimmed, also.
Hard to mess up here. Just trim the horm brace along a line connecting the dots. Deburr this
puppy and you're ready to go.
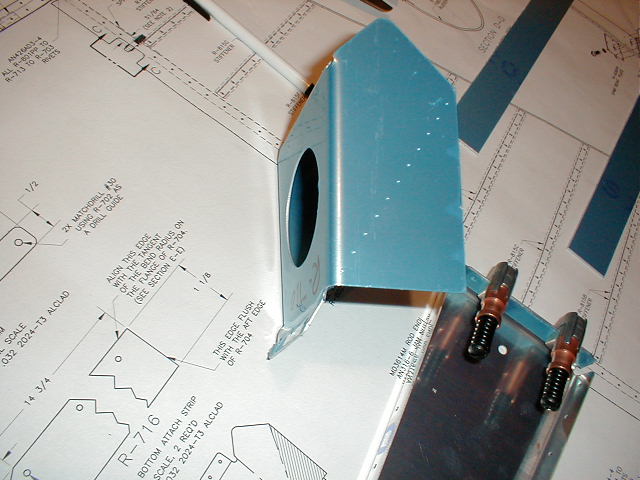
717 fabricated shim clamped and ready for initial drilling using the 606 reinforcing plate and spar for
hole alignment.
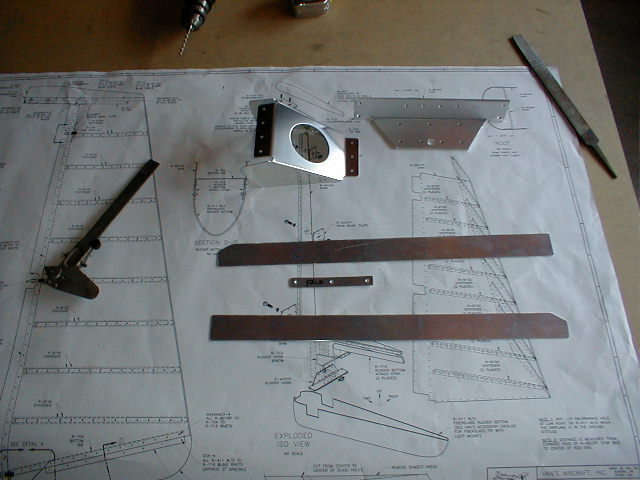
Skeleton clecoed together for final drilling. The 716 fabricated bottom strips are not drilled at
this time.
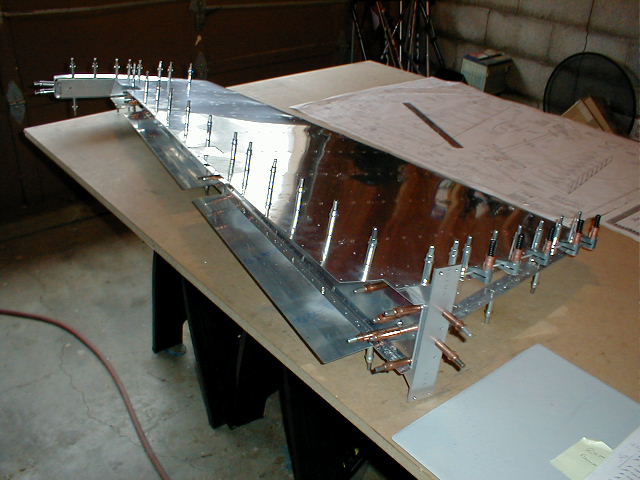
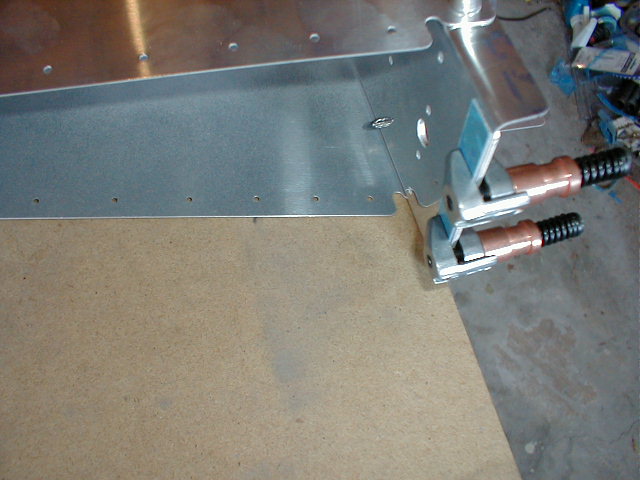
Cleco the skin on and clamp the 716 strips on the inside of the bottom 704 rib. Use the pre punched
holes in the skin and 704 to final drill the 716 strip. Make sure you have plenty of clearance between the drilled holes
and edge of the 716. It's just holding on the fiberglass. I just made sure it didn't ride against the radius bend
of the 704 flange so as not to have a stress area.
|