|
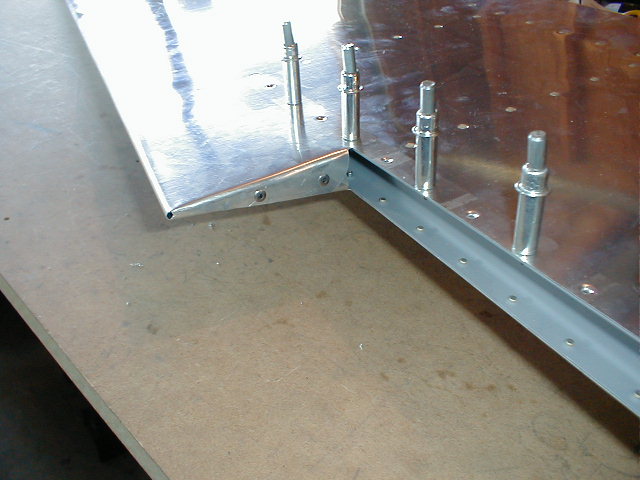
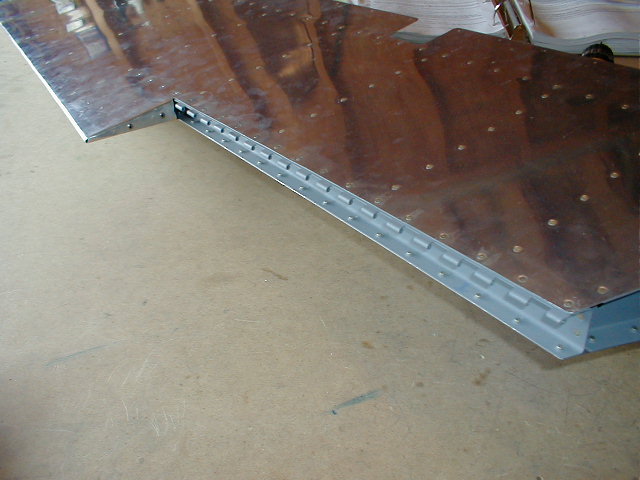
The top picture shows the two bends that scared you to death making. Just follow and directions and
take your time. They do come out. I had to rim a little of the inside bend so it didn't rub on the outside bend.
Be outside bend is facing down to let the water run off the elevator instead of into it. The rivets are placed so the
heads do not lay directly over the heads in the trim tab.
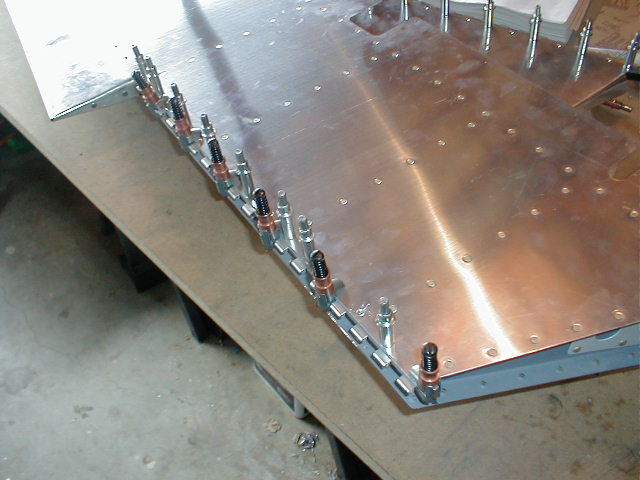
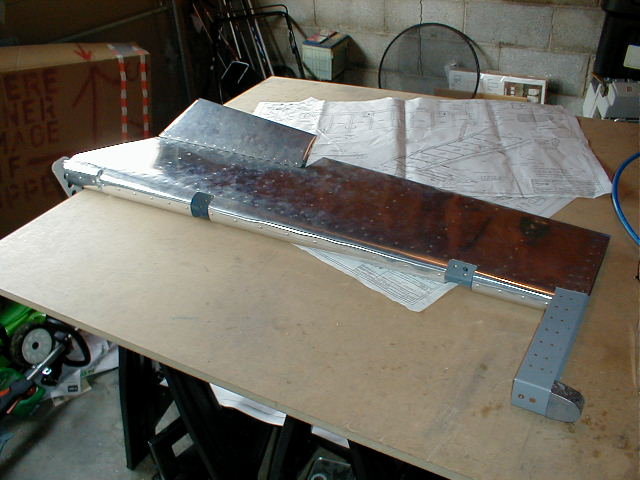
The bottom picture shows why you didn't rivet the top skin onto the trim spar. Same as
before you will be wondering just how in the world you are going to buck a couple of these rivets.
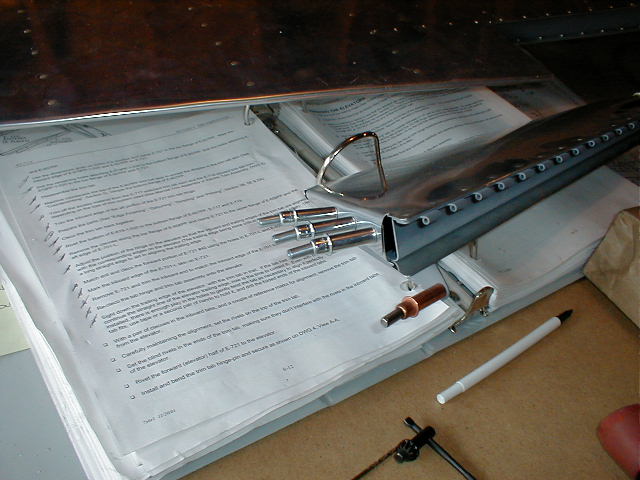
When you are aligning the tab and elevator, just mark on both where you want your rivets so they are postioned directly
across from on another.
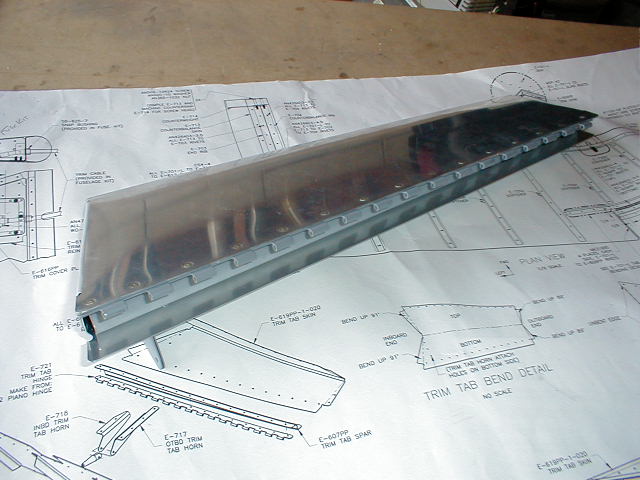
Two completed hinge assemblies. Take the hinge rod and grind a bullet nose on one end. If the
tip is pointed it goes back through the holes much easier when you put it in a drill chuck.
IT WORKS!!
|