|
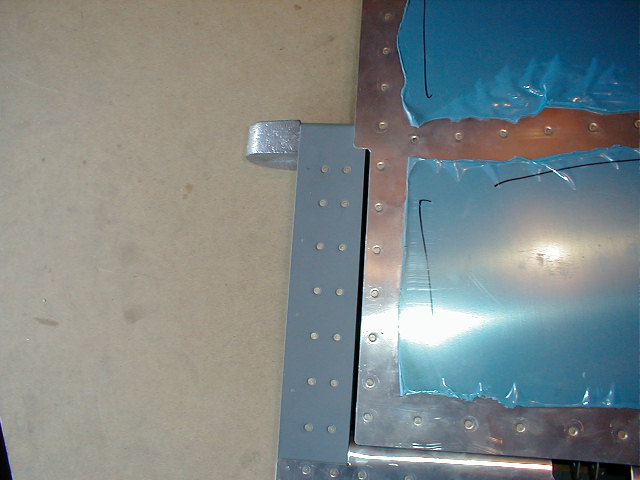
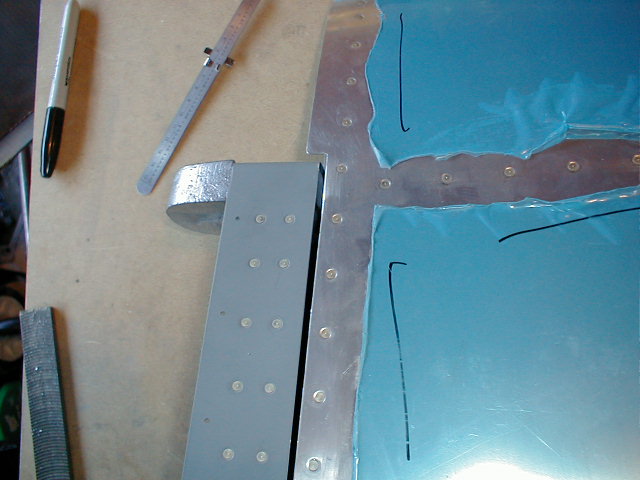
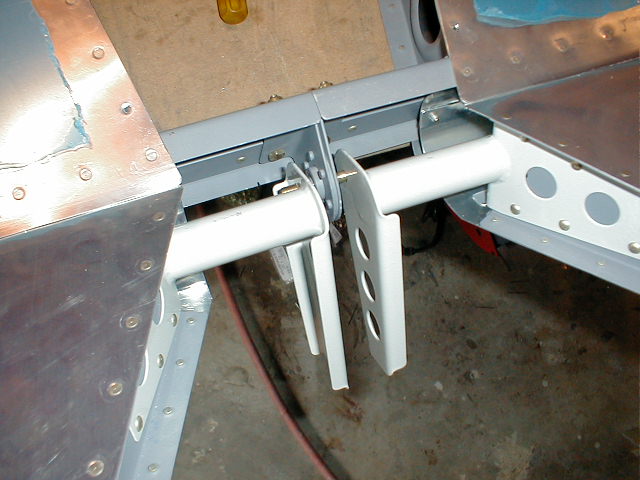
As you can see in the above picture, something doesn't look like it will pass inspection. I think
you might call this binding:-). When Van's redesigned the 7 counterbalance (by placing the weight more forward and positioning
it side to side instead of front to back) they were able to lessen the amount of required weight. Good deal at this aft
moment. What they did not do was change the skin cutout. No big deal.........look at the next picture.
I wanted to maintain the same separation I had between the 713 and the skin on the side, on the front. I had to
take out 27mm to achieve this. I drilled a #30 hole in the corner of my cutout and then snipped out as much as I could
(more than is in this picture). I filed the remainder down, then used my hand deburring tool to clean it up.
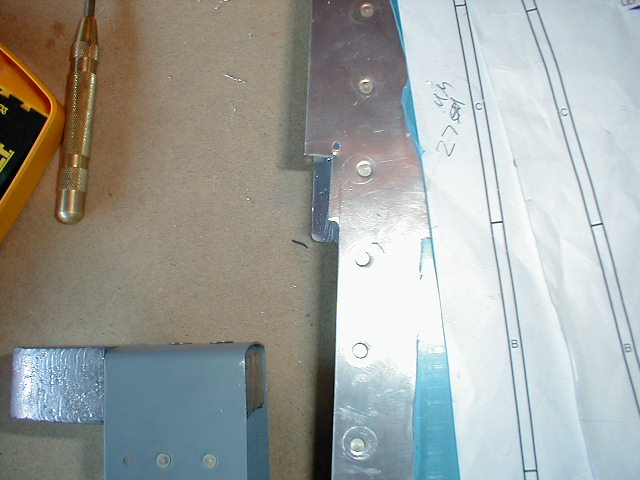
Not too much work at all and it came out nicely. You have to this top and bottom, both sides.
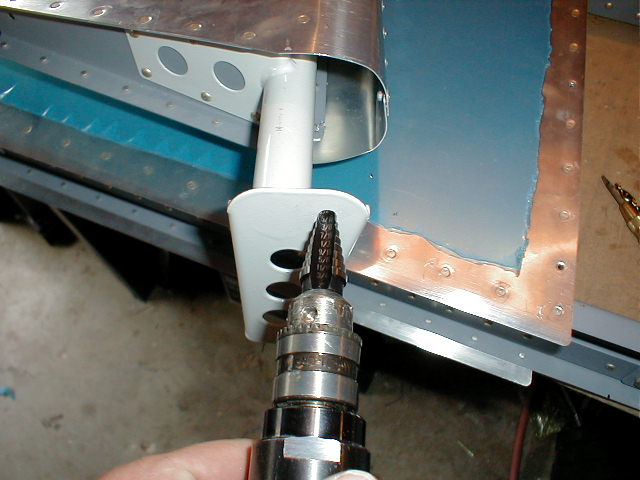
Before you drill the 1/4 hole in your horn, spend some time and make sure you have positioned your rod end
bearings and the distance you need them to be. By doing this you can change the gap between the fore and aft openings
at the 713 and the gap side to side of the elevator and horizontal stab. I marked the horn a little differently than
the plans explained. I'm sure the plans way works but my way worked out for me. I used a new 1/4 pilot indexed
wood drill bit and fit it through the bearing. I had my son hold the 713 flush the the HS and turned the bit very slowly
so as not to damage the HS bearing. I turned it slow enough that the bit did not turn in the bearing, just the bearing.
The pilot tip indexed the horn just enough for me to center punch the index. I started out with a #40 bit, then #30
and so on until I could use my Unibit to drill out the 1/4" hole. I did this with both sides.
The came out perfectly (can there be such a thing:-). When I move each elevator up or down by
itself, the bolt never moves in the bearing. I could not have asked for it to turn out any better.
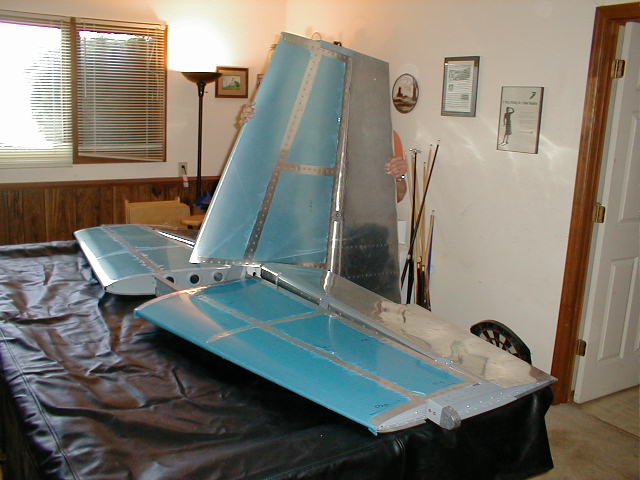
One RV-7 emp. using the new construction techniques and NO JIGS!! Less than 100 hours total time.
|