|
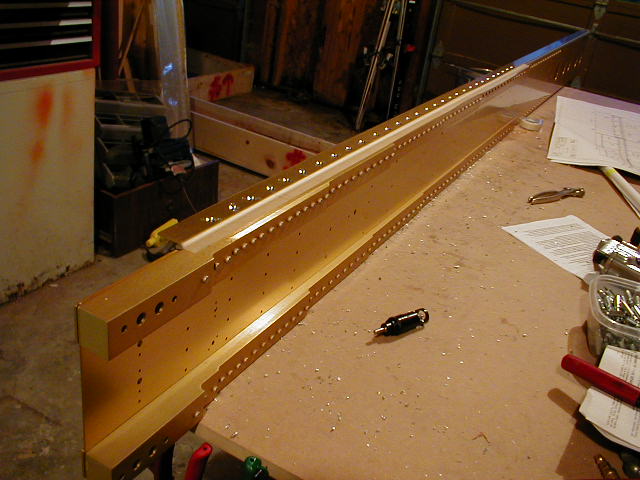
Before I started any work on the spars, I put some removable tape over the gap between the spar flange and the reinforcing
plate. This is an area where gobs of metal flakes could live for the duration of your airplanes life.
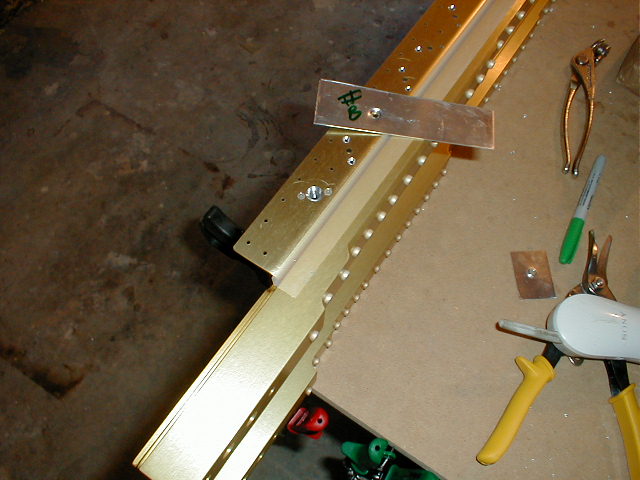
As you will see, I used the nutplates to help center the countersink for the #8 fuel tank screws. This worked very
well for me. After the first flange, I timed myself during the completion of the other left spar flange. I worked
non stop, but not hurriedly, and finished countersinking the AN3 rivet hole, riveted the nutplates on and countersunk for
the #8 in 1 hour and 10 minutes per flange. Since I am building both wings at the same time, I will final drill all
#40 holes, do all my AN3 countersinking on both right spar flanges, rivet the nutplates on and then countersink for the #8
on both flanges. This way I won't have to reset the micro-stop twice. It is going to go faster doing both wings
at the same time.
I decided to follow the plans and not use a jig to drill the countersink holes in the spar flange to accept the dimple
in the fuel skin. I was concerned the pilot would damage the threads of the nutplate or wouldn't center properly.
My concerns were unwarranted. I used the 1/2" #30 pilot 100 degree countersink after riveting each nutplate on first.
It left a smooth countersink and centered itself into the nutplate. Do not try to countersink the holes for the #8 screw
without using the nutplates or a jig, you will not be able to achieve a proper countersink. Be sure and make a test
piece out of .032 dimpled for a #8 screw. An .032 dimple is one deep dimple.
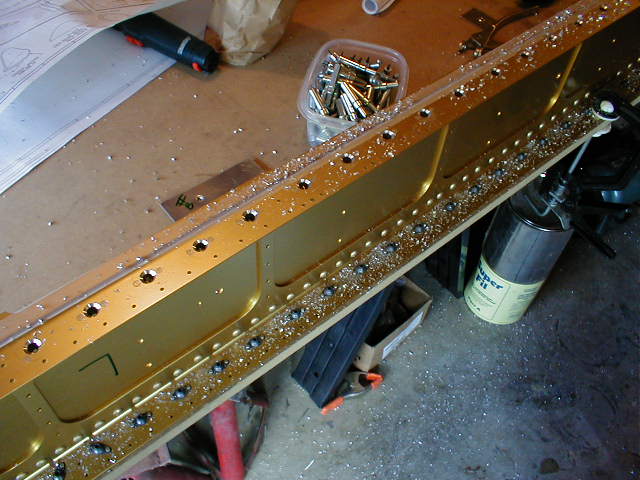
I #40 final drilled all the nutplate holes in the spar flange first. You do not have to cleco the nutplates
on to do this, the holes in the nutplates will accept an AN 3 rivet without final drilling. I then countersunk
all the nutplante holes, squeezed one rivet into each nutplate, removed the clecos and squeezed the second rivet for all 30
nutplates.
This is why I added tape to close the gap between the spar flange and reinforcing plate.
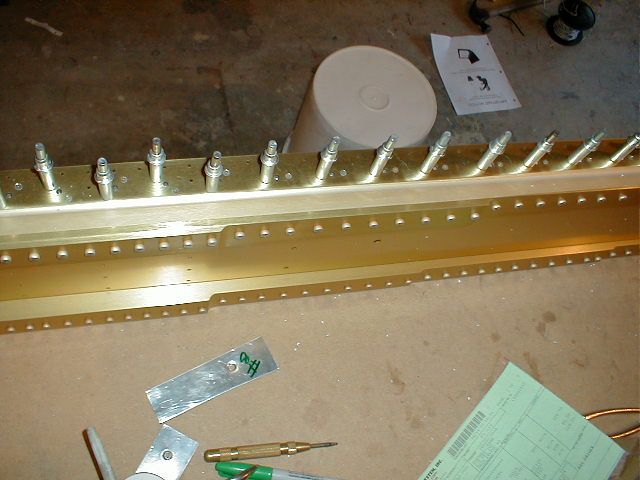
The top of the left spar with all nutplates installed and countersunk for the #8 screws. The holes you get
from the #8 countersink will look huge too you, but that is the way they need to be to accept the dimple.
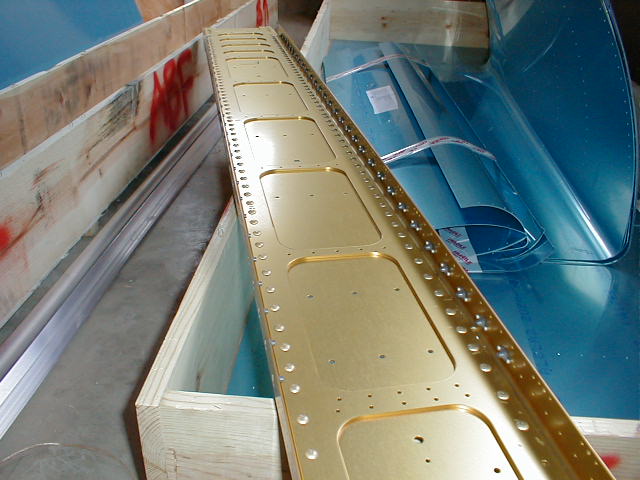
The left spar with all the nutplates installed and countersunk for the #8 fuel tank screw.
|