|
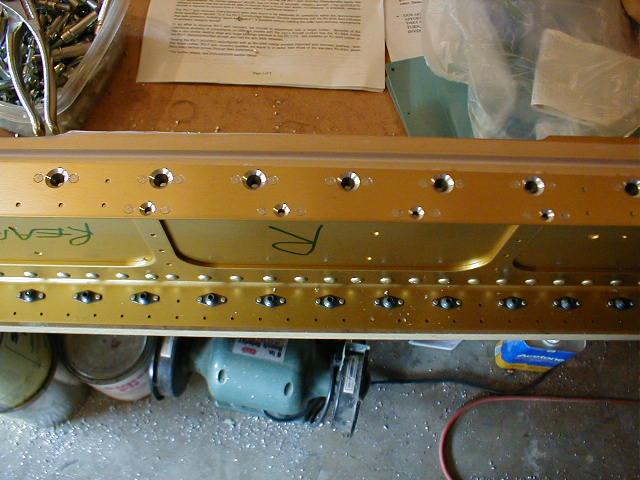
Just when you thought you were finished with platenuts, you now have 12 more per wing for the three inspection covers
per wing. Don't think you are out of the woods on platenuts, just look how many you still have left to install:-)

Once again, I used the method described in the manual and drilled the AN3 rivet holes for the platenut installation
first. Next step, as in the fuel tank platenuts, is to countersink for the rivets and install one rivet per platenut,
uncleco and add the second rivet. Be careful, these platenuts are K1000-6 (not 8s as the fuel tank). I then used
my same countersink with a #40 pilot and countersunk for the AN6 screws. The pilot will find the dimple in the platenut
and eventually center itself. The finished countersinks (it smooths out at the very last moment) is baby butt smooth.
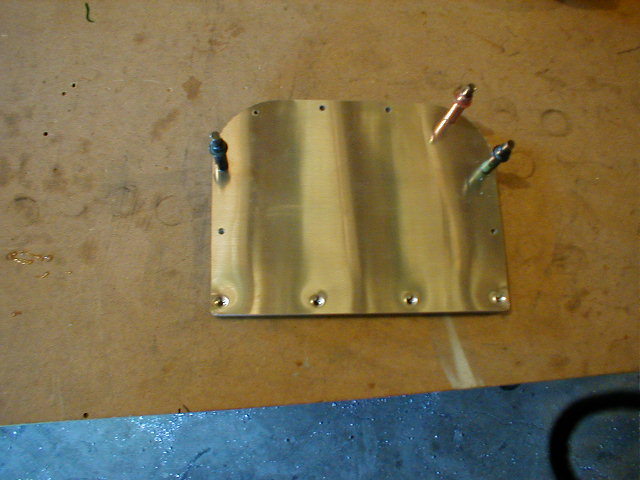
Be careful here, the four holes on the inspection panels that attach to the spar are #6, the remaining holes where the
panels will attach to the wings are #8s. In the photo above you can see where I drilled the four #6 holes individually
per panel, deburred and countersunk for a #6 screw.
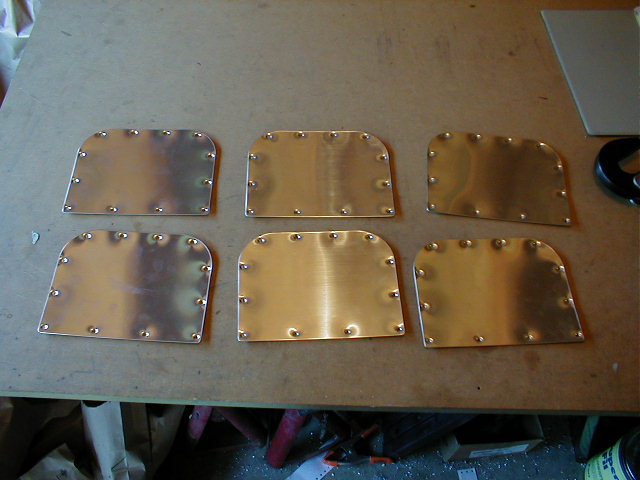
I then stacked all six together and final drilled all the holes for the #8 screws. This way I only had to drill,
in essense, one panel instead of six. You can initially cleco the panels together using your AN4 clecos. After
final drilling, you will have to replace two clecos with the black variety to get the remaining holes. Worked like a
charm.
The photo below shows the #6 and #8 screw dimples.
Man I hope I'm done with plantenuts!!
|