|

In order to see just exactly where I have available space to put the Trio altitude hold button and vertical speed adjustment
knob, I need to go ahead and install the Dynon EMS D120 engine monitering system. This unit is going to take up a considerable
amount of space center panel, just above the switches. I want the autopilot and vertical speed knob to be both ergonomically
correct and eye appealing. I may suffer from poor planning and have to split them, no big deal. I want the two on the same
plain for eye coordination in flight. I should have this worked out by days end.
Although this is the third day after receiving my Trio Avionics EZ Pilot and EZ 2 altitude hold with vertical speed, I actually
consider it to be Day 2 of the autopilot itstall....why you ask, I had to take yesterday and earn some money doing the CPA
thing in addition to installing the Dynon Engine Monitering System. I had several thoughts on where to mount the LCD screen
for the altitude hold in addition to where to mount the encoder swithch (knob). I wanted to take up all available space so
I could see all my options, thus the Dynon took center stage...no pun intended. I'll show those pics later today.
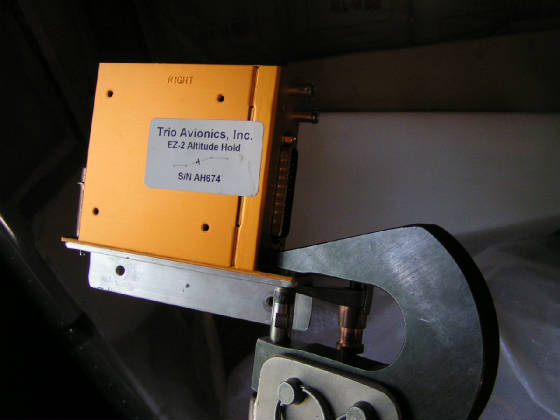
Here I mounted the Main Electronic Module on a piece of angle. This unit has a top orientation and a right side orientation.
Top and Right are stamped into the case. It is critical it be mounted property. Encased are the electronic gizmos (gyro)
for pitch recognition, thus correct orientation. With the EZ 2, there are two ports, one pitot, one static. Static for a
pressure source and Pitot for speed sensing so that it can limit minimun/max airspeed, climb on airspeed and pilot command
steering with airspeed control. Long story short, top UP right RIGHT.
I riveted the module to the angle and bolted the angle to the rudder pedal support. Sam has had good results form this configuration,
so why reinvent the wheel. This allows for a short run with pitot and static. I bolted the angle on in case I ever have
to remove the unit.......read upgrade to EZ 3 with climb to altitude.
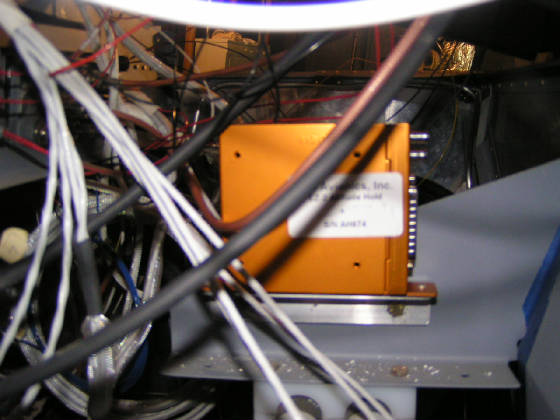
This shot is from the pilots side. I might recommend you move your install aft a little. I have room in front for my lines
but an inch or so might be nice. Man, all those wires look rather convaluted.......wire ties in the future but it sure was
an adventure getting a drill down in that mess.
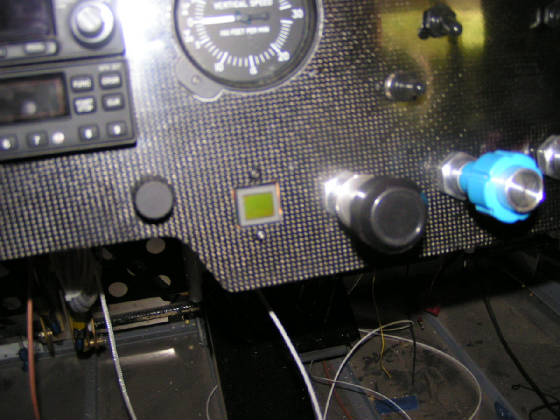
As you can see, the panel is back in "Black Magic". It is right at 3PM eastern time Sat. I ended up going with
my first choice of location. I separated the units just a little and offset them to the point I cannot use the provided bezel.
That's OK, Trio offers several different bezel configurations. I offset them just because of the reinforcement lip on the
backside of the carbon fiber panel. You will see this in a picture to follow. I like this arrangement as I can climb to altitude
using the features of the EZ 2, level off, power back, trim and engage the altitude hold.....or with the EZ 3 let the airplane
do it (pretty soon it will be "Push here to Fly", all without moving my right hand very far.
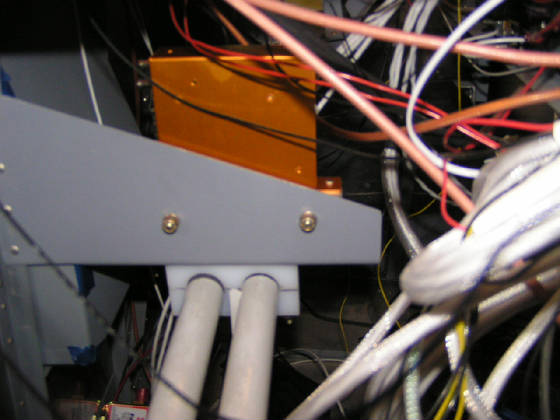
As you can see I went the ol push pull throttle. I'll be flying formation so no twisting and turning.
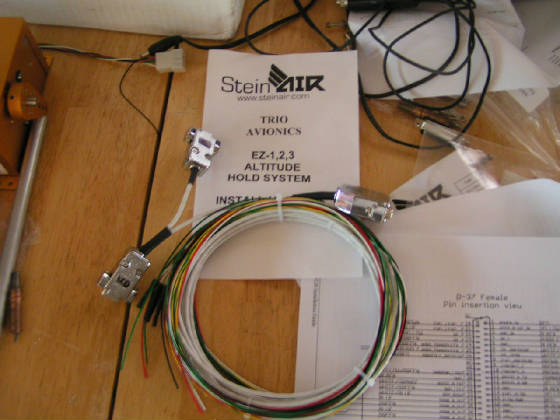
Nice clean harness provided by non other than.......STEINAIR. As you can tell, I like this gang....even if they are northerners
(see I didn't capitalize that:-).

A blurry pic but it shows the plug and play feature from Steinair. I have my entire panel wired with two harnesses from Stein
and everything works as advertised. I'm a throw the light switch and see the light come on kind of electrical person. I
am more than glad others are more blessed. This autopilot install as been a pain free as anything I have done on this airplane.
A big thanks to Trio Avionics and Steinair.
I'm on my way to town to grab some fuses. I'll post a pic a little later today of the entire panel fired up. BIG DAY.
|