|
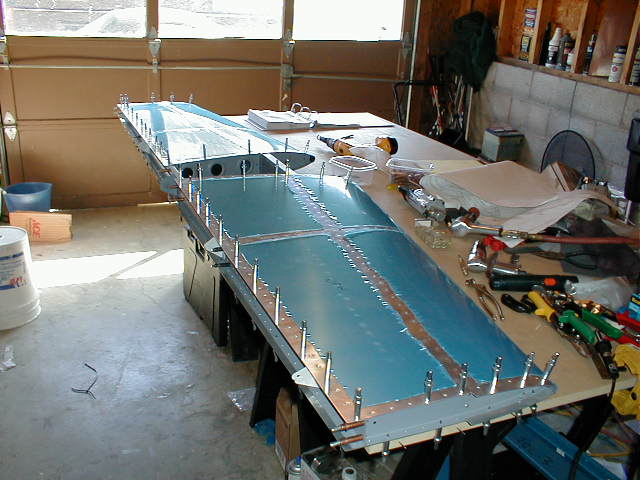
You repeat the procedures from Horizontal Stab 2 to rivet the skeleton and 601 skins together on the other
side. It is an easy job. At this point, my fingers are crossed that when I pull the aft spar out of hibernation,
it will fit properly. All bets are off at this point (not really I have already trial fit it).
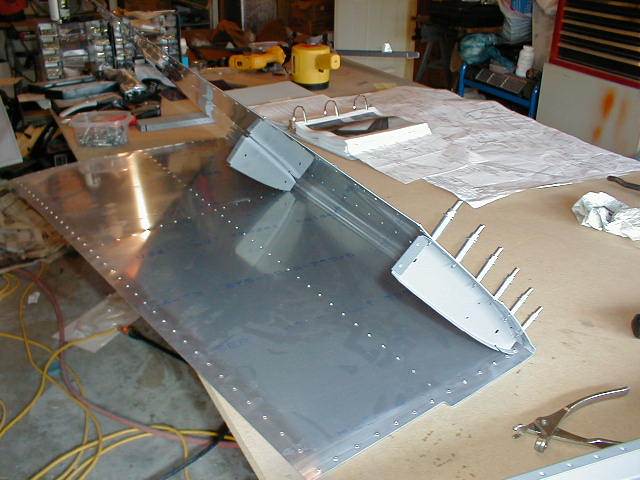
OK, here is that long lost aft spar. I hadn't seen it in such a long time, I had to remember where
I put it. It fits absolutely like the instructions say it will. As you can see, rivets are already in most holes
of the spar, inboard and outboard ribs.
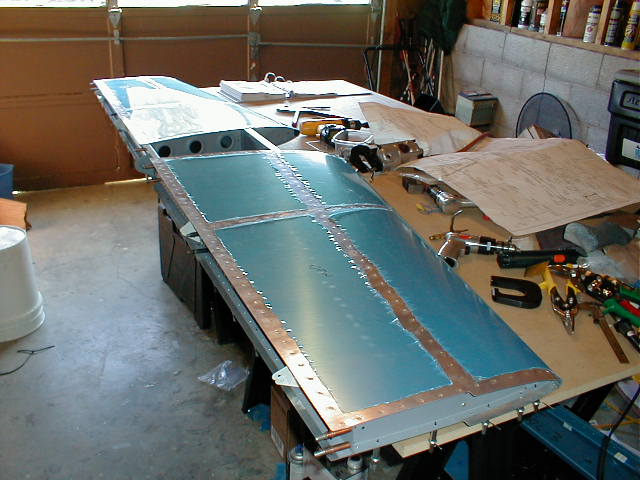
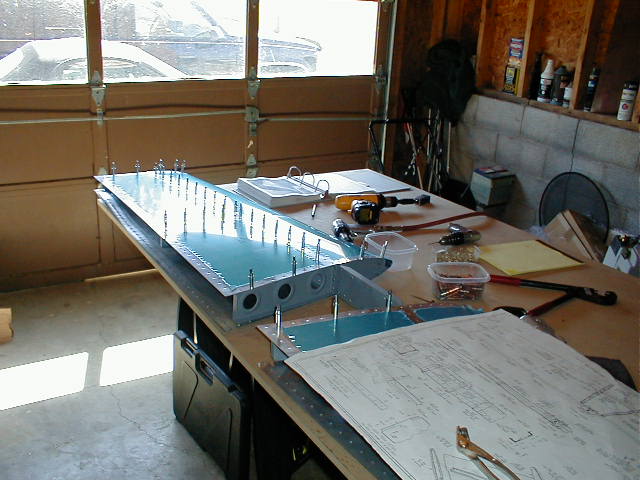
The last step in the instructions. Flip the assemply over, finish up the rivets to attach the 601
to the outboard ribs. Rivet the inboard and outboard ribs to the aft spar and blind rivet the center aft 708 rib to
the aft spar.
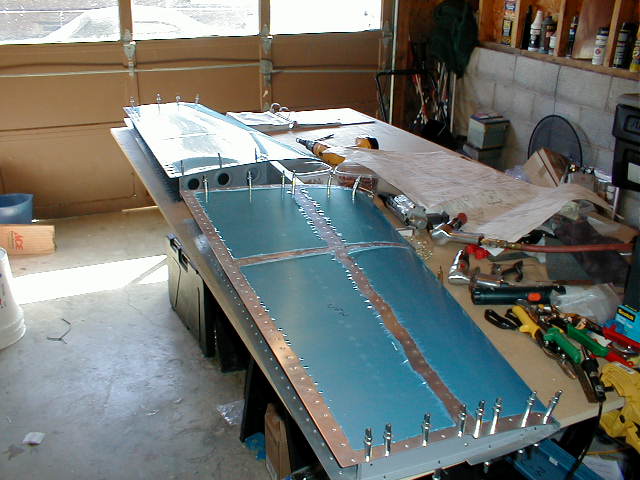
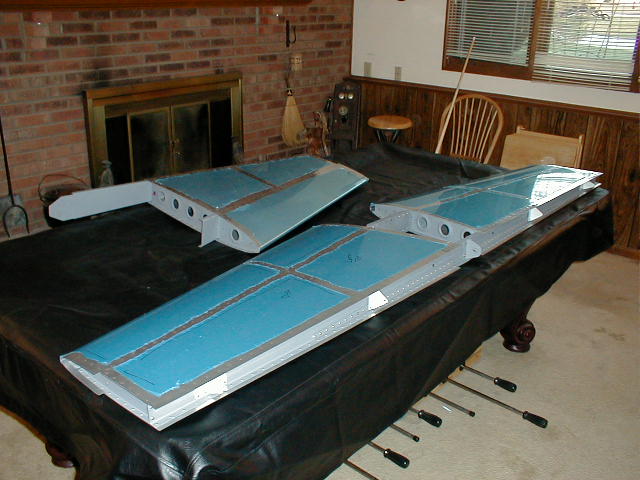
I did check the HS, it is straight!! When you consider the perfect alignment of the pre punched hole
in all the ribs (except inboard), spars, brackets, splice angle and reinforcement angle, it's no wonder the thing goes
together straight. I have talked with several 6 and 7 builder who stated they would have used a jig anyway,
but if you follow the instructions of these new kits they will go together straight and a jig would not be possible (if
you follow the assembly instructions in order).
|