|
Wouldn't you know it, the next step says to install two nutplates to each inboard spar web. These are two K1000-4
platenuts per wing and are attached using AN426 3-6s. I didn't photograph this, you know the drill. Just be sure
the platenuts go on the forward side of the web. See drawing #11.
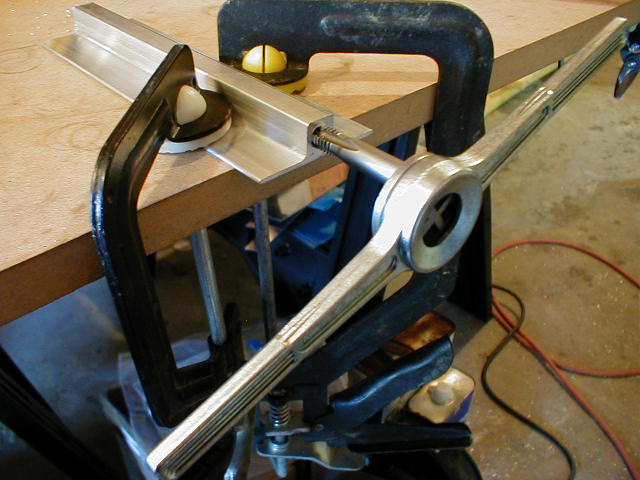
OK, here we go. The tiedowns have to be final drilled with a 5/16 bit to accept the 3/8x16 tap. Go slowly
and back it out several times to clean the threads good. Go one inch deep. Only do this on one end of each tiedown.
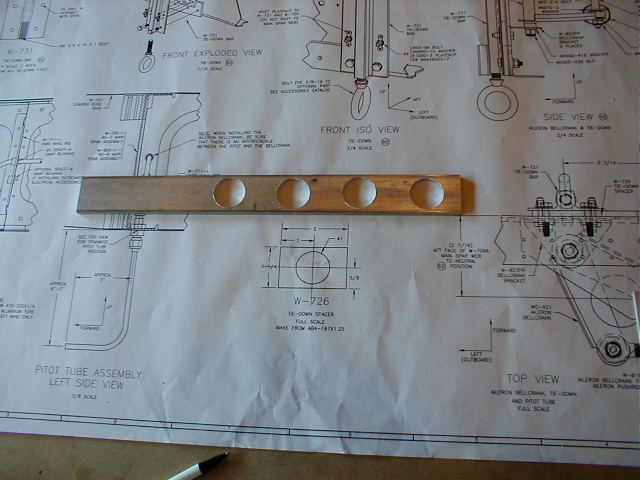
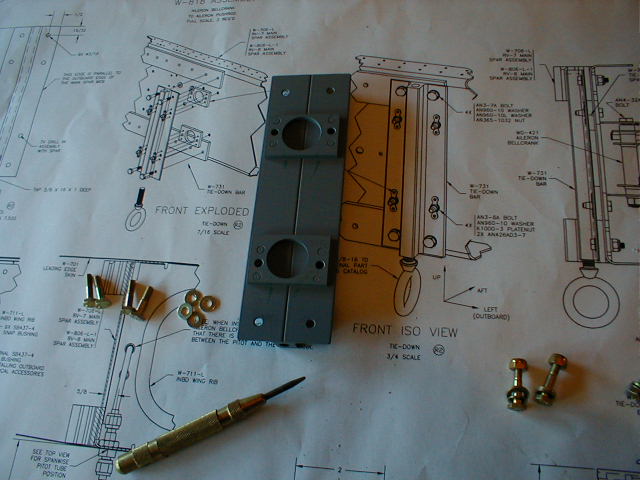
You have to center drill a one inch lightening hole per spacer. The plans call for this spacer to be 2" wide.
After doing mine, I think I would increase that to 2 1/8" as rivets attach a (you know what) platenut to the forward side
of the tiedown. These rivet holes get drilled through the spacer and countersunk on the spacer side. I found it
would be very easy to misalign the spacer and drill the #40 holes a little too close on one side or the other of the spacer.
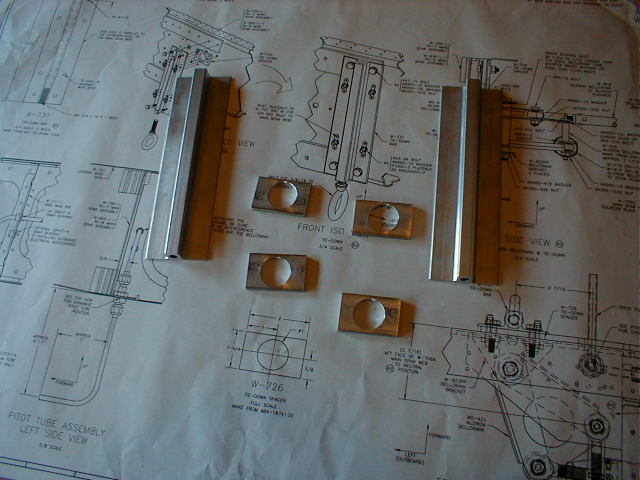
I cut all the holes out of the stock at the same time and then cut each spacer out.
After deburring, the bottom photo shows all parts for the tiedown. The spacers go on the back side of the tiedown
to offset the spar reinforcing plate. I found it was much easier to drill the tiedowns and put in a couple of AN3-5
bolts to hold it on and drill out the remaining two holes. I then removed the tiedown and postioned the spacer and drilled
those two holes out using the spar as a guide. Bolt the tiedown back on and hold the spacer in position.
Using the spar and holes you previously drilled in the spacer as a guide, final drill the holes through the tiedown.
Repeat for the other tiedown and you got it.
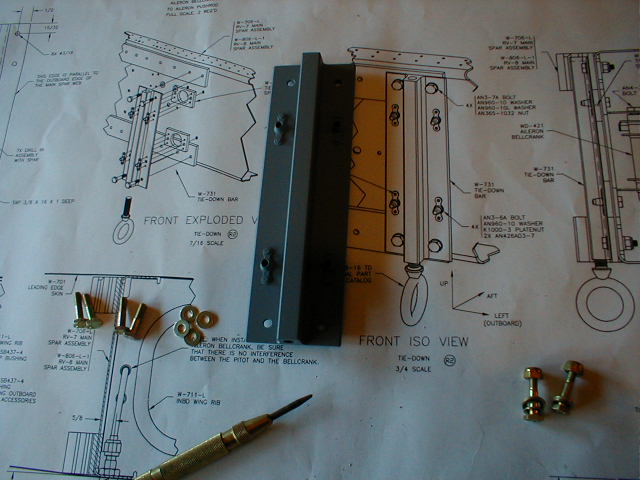
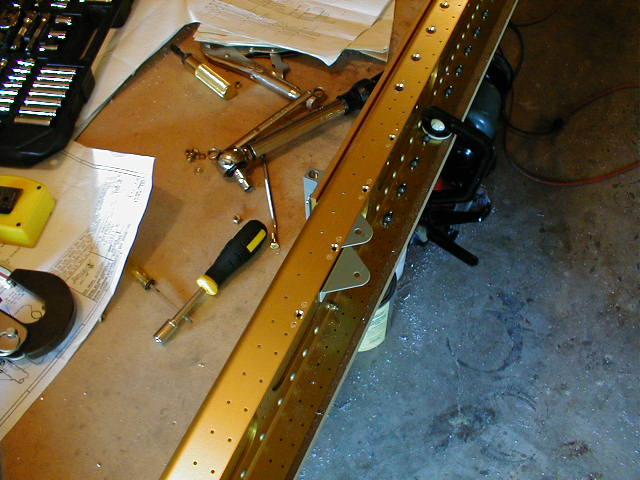
The tiedown assembly bolted to the spar. The aileron brackets get attached using AN3 bolts through the platenuts
on the forward side of the tiedowns. You will see the the torque wrench on the bench. These bolts use a max of
25 inch pounds (won't feel like much but they don't have to be "eeekk" tight).
|