|
During my shop time I would take some time out and spend it deburring the flanges of all my ribs. I didn't want
to have to sit for four days and do nothing but deburr. This worked very well for me and allowed me to finish shop time
on the ribs a little at a time. I was able to bend the flanges (easy job) using TV time (other than shop time) and flute
rather quickly. It's not the job it's made out to be. I used a dremel tool to deburr all the lightening holes
in the ribs. This went more quickly than I had anticipated.
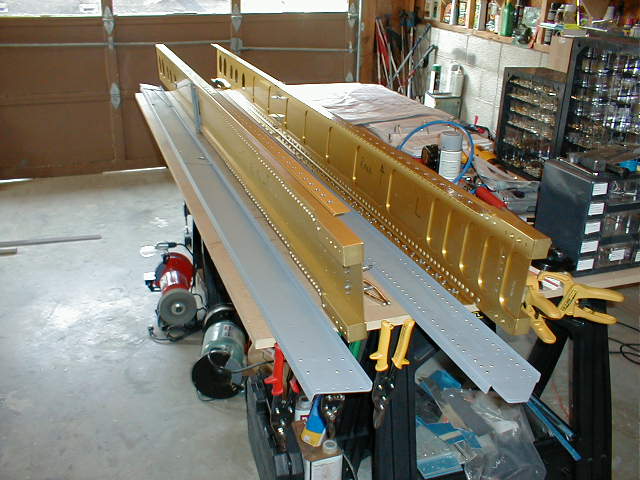
One set of spars for my RV-7. Got my wings in on 6/14/02. The above picture is of the spars on 6/19/02.
I can't say enough about the quality of the parts from Van's. Great to work with.
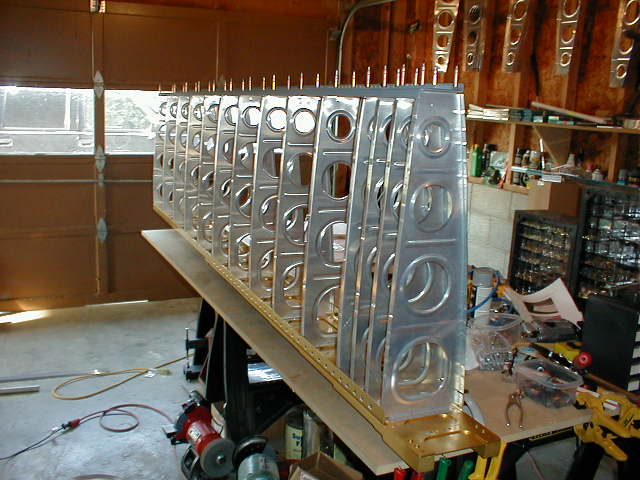
The left wing clecoed together. About 5 days of shop time. Now I have spent some time in the shop, but I
really wanted to get to this point. I'll cleco the right wing together, final drill all the rib holes, prime and
start bucking the forward spar rib attachments points together today. Just be careful and position the correct ribs
in each spot. They vary wildly:-)
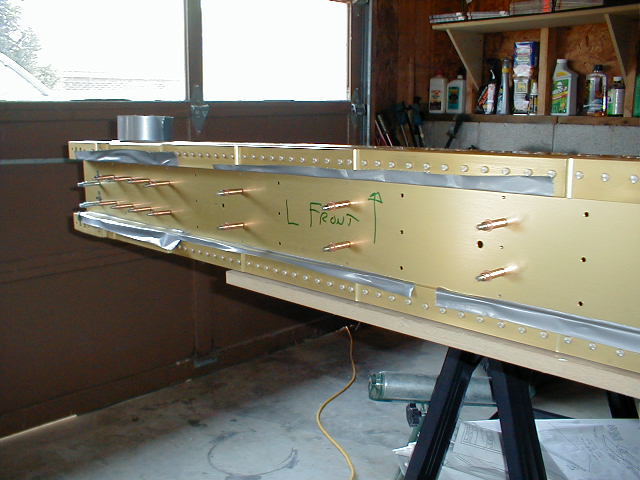
After priming all the ribs, it's time to start riveting. I used duct tape on the spar to keep from scratching the
spar with my bucking bar.
|