|
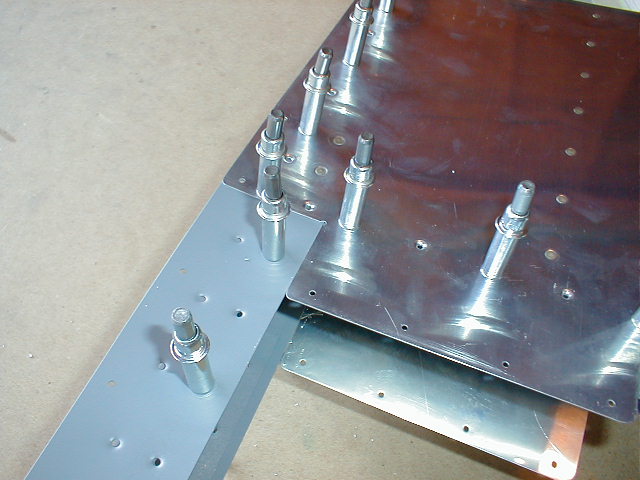
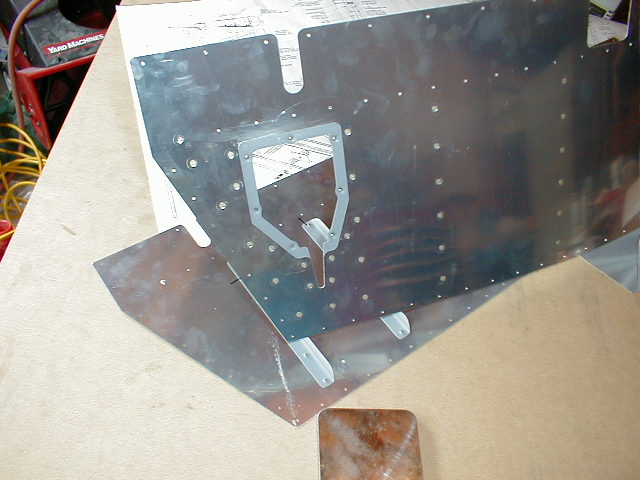
The top picture shows the 713 riveted in with the two 3.5s and now the spar along the 703/704 assembly has been rotated
in and clecoed on.
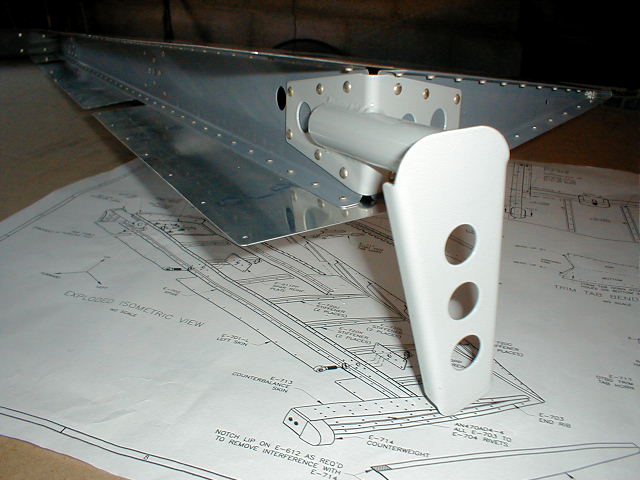
The bottom picture is the skin now riveted on. The two most aft rivets are "fun" to put in. I have seen people
pop these last two. I flush riveted them, but I spent as much time doing these last two on each side as I did on the
rest of all the rivets................worth it..............it all depends.
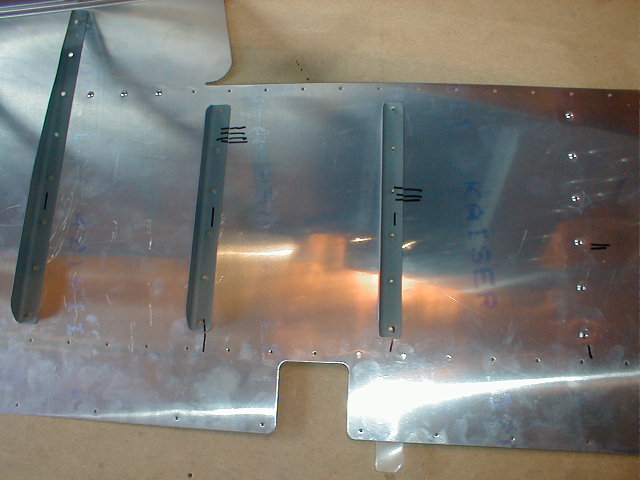
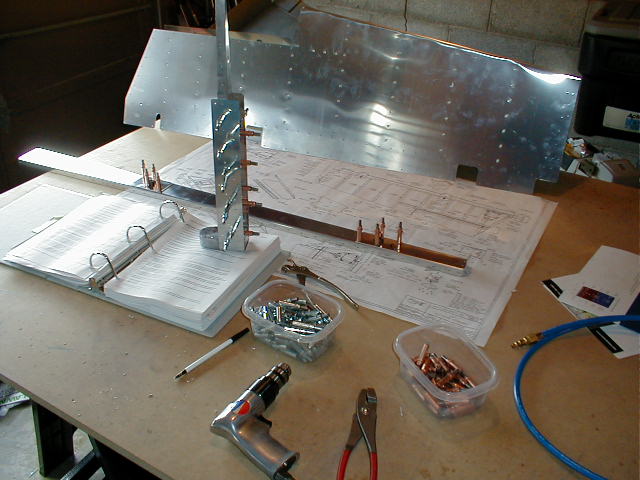
Be sure and mark your H stiffeners very, very well. You again can see my system with the single, double and so
on, lines.
All the stiffeners, along with trim access plate get back riveted in. You can see the picture below of all the
tape holding rivets in on the access plate. I still love back riveting the best of all.
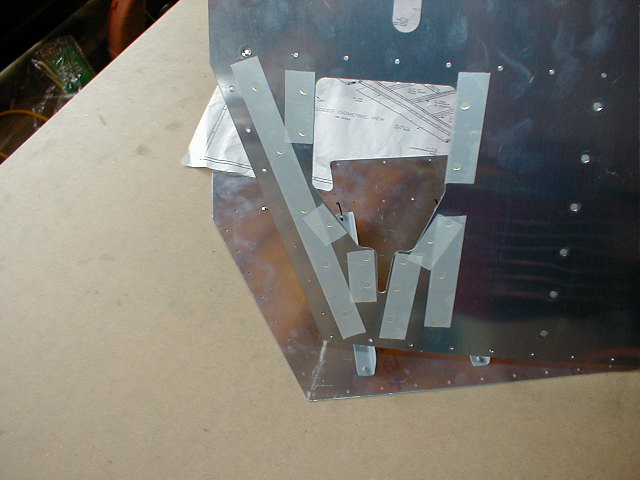
Since I am installing manual trim, I'm pretty much done with this access area until I get the fush. kit.
|