|
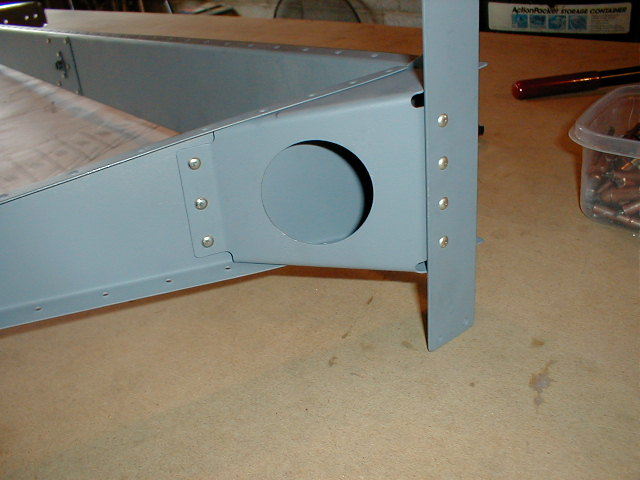
Although the skin has been relieved to enable it to sit over top of the 405 rudder horn, I removed just
a little more of the skin so that no contact between the two parts of evident.
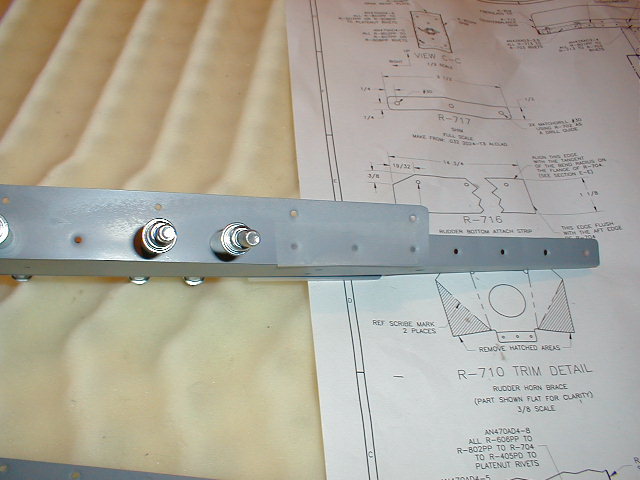
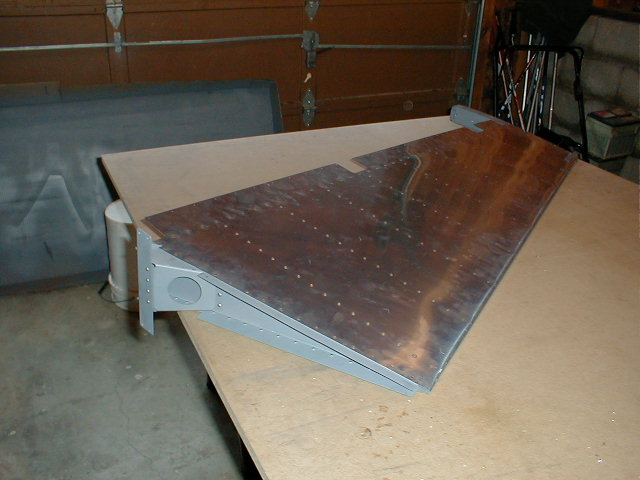
Bottom dimpled and primed with platenut installed. Be sure you mark your plantenuts so they go in
the same place. Also, be sure you installed the 717 shim between the 405 and the spar. This takes up the space
generated by the forward flange of the 704 bottom rib.
Be sure and put tape on the aft three holes of the 713 counterbalance skin/703 tip rib combination when
you rivet the 713 and 703 together. These last three holes are the starting point of the skin and 713/703 attachment.
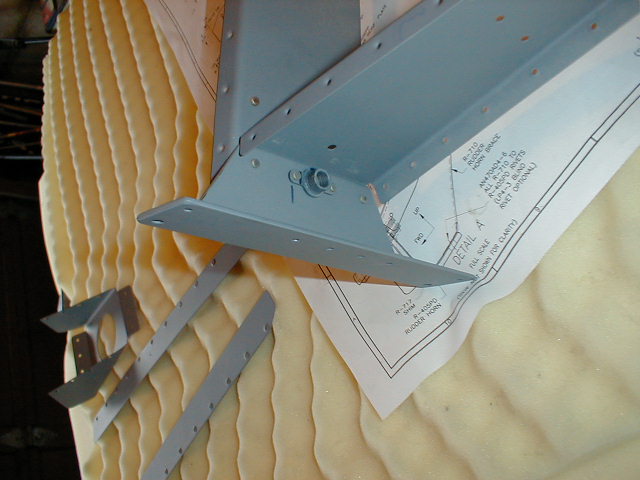
In the plans, LP4-3 blind rivets are offered for the 405/710 attachment. If you have a longeron yoke,
you can use that to set standard AN470AD4-6 rivets. The longeron yoke can also be used to set 426AD3-4 for the skin
(801), 704 to 710 instead of having to use the optional CS4-4 pops.
The aft most 426 3-4 rivets are more than a little bit tight to get to. I fabricated a bucking bar
by grinding down a cold chisel. I don't know if it was worth the effort but I did it just so I didn't have to use any
pops in the rudder.
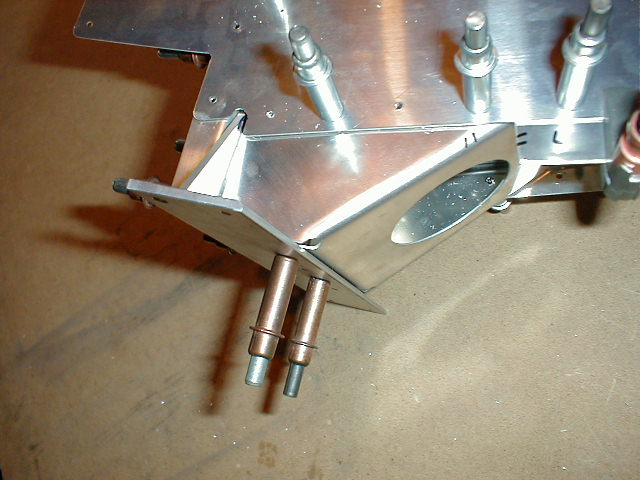
When you install the rod ends, be sure and put the longer 3616 on the bottom and the 3614s on the top and
middle.
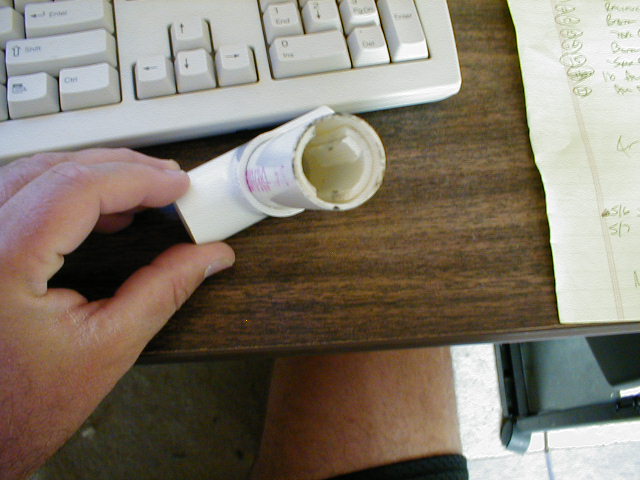
My rod end bearing install wrench. Nothing more than PVC pipe with the ID of the outer being the OD
of the inner with a two slots cut in the inner. An elbow is installed on the outer to make a T handle. Works great
and does not mar the rod end bearings.
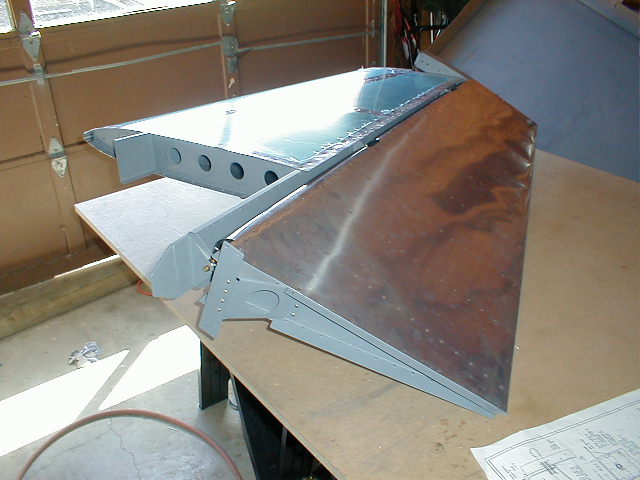
One rudder!! I'm going to do all my fiberglass work at one time. The first airplance I built
was a plastic one so the glass work will be like "old hat" .
As for bending the forward arc, I used an broom handle and my 15 year old son as a helper. I found
it easier to bend each section separately starting from top to bottom. It's a hand killer but with the new skins being
pre drilled, it lines up perfectly. Be sure and deburr the forward edge of the skin before you bend along with the rod
end bearing openings.
|