|
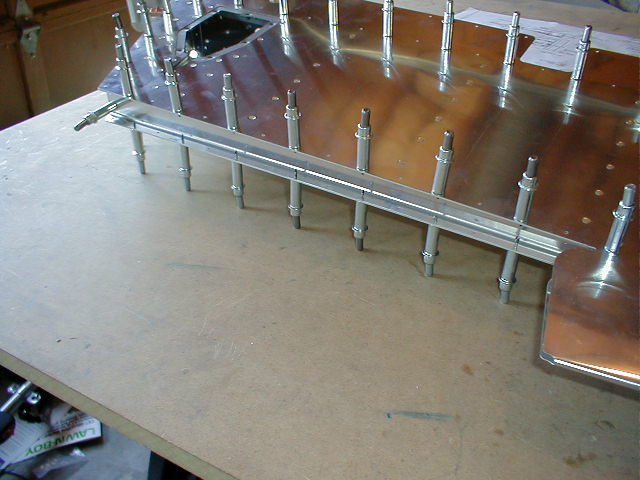
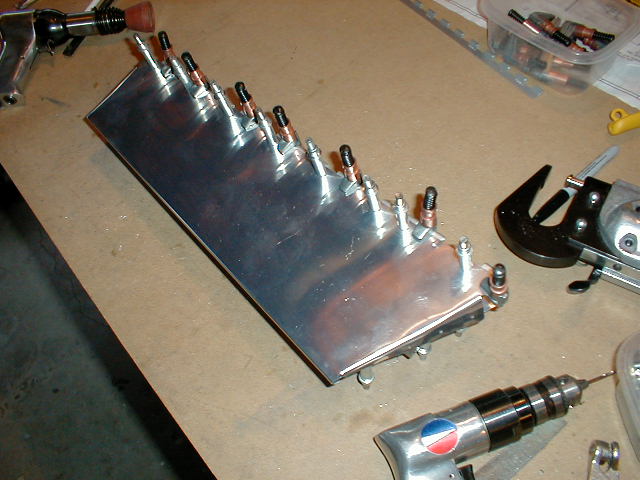
The top picture shows the left elevator with the trim spar clecoed in. Nothing special here until you start riveting.
The trim spar gets riveted only on the bottom first. The top is riveted after you drill the trim hinge.
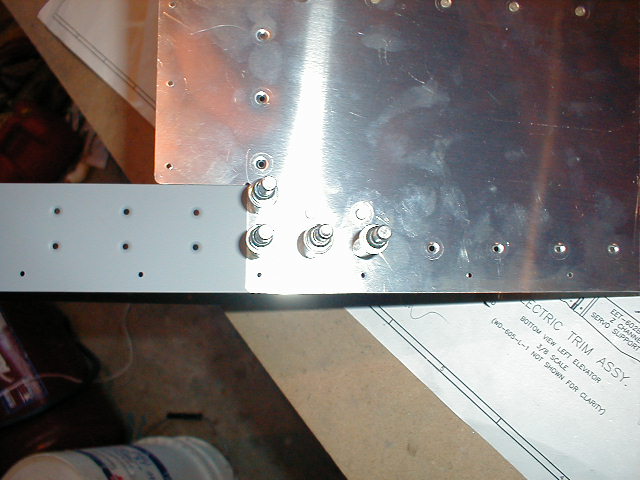
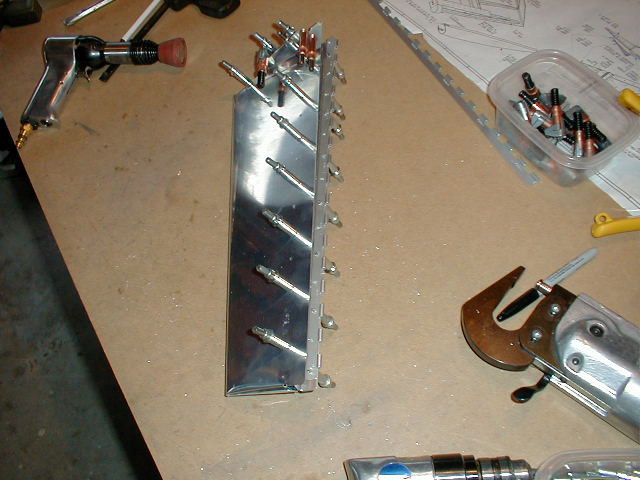
The bottom picture shows those same two 3.5s installed in the 713, exactly like the right elevator.
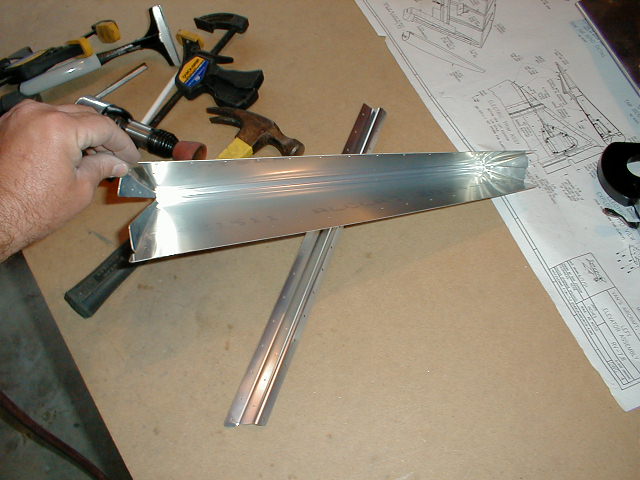
The trim tab with my bends completed. Just follow the instructions and don't get in a hurry. I started my
bends with an edging tool then used my cupped rivet set with the air turned down low to finish the bends.
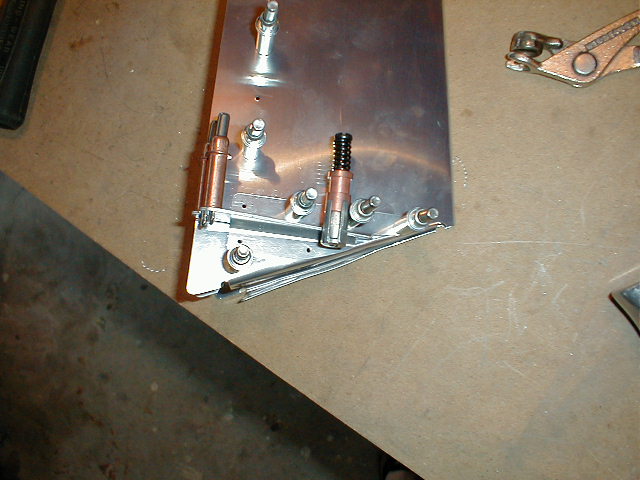
Bottom pic shows my trim horns clecoed and drilled. I am using manual trim so I had to trim according the plans
on drawing 4.
The top picture shows the trim tab hinge clamped and partially drilled. It's no big deal, don'e loose any sleep
over this.
The bottom pictures shows everything final drilled and ready for riveting. You take out the clecos on the top side
and rivet the bottom on first. Riveting the hinge on is a little bit of a head scratcher though. There are a couple
rivets that you don't thing there is anyway you can get too them. Trust me, you can turn a bucking bar, or two, a couple
ways to get them set. Just takes a little bit of yelling and a couple "there's no way" to complete this task.
|