|
Nothing special, just squeeze these rivets.
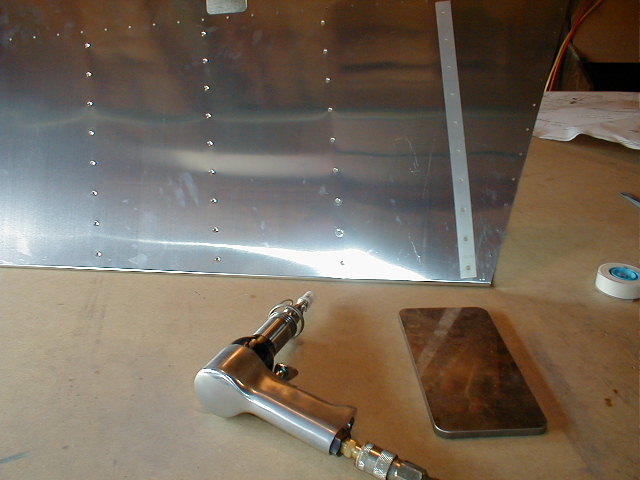
The tape you notice on the skin is just removable Scotch brand tape from Office Max. Don't waste your money on
that expensive riveters tape.
I just love the finish product from back riveting.
You will notice I have done away with leaving the blue protectant film on the skins. After talking with several
other builders I did away with cutting out the rivet lines. I have seen a couple RVs where you could see the scratch
marks left from a hurried protectant removal. You will scotchbrite the surface anyway before you prime. That and priming
will do away with any small scratches.
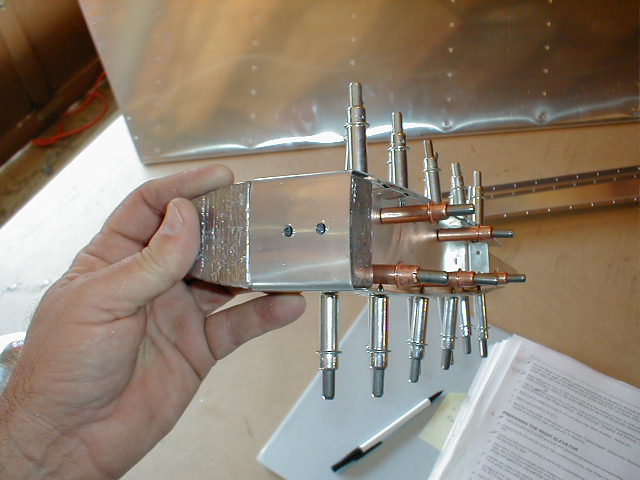
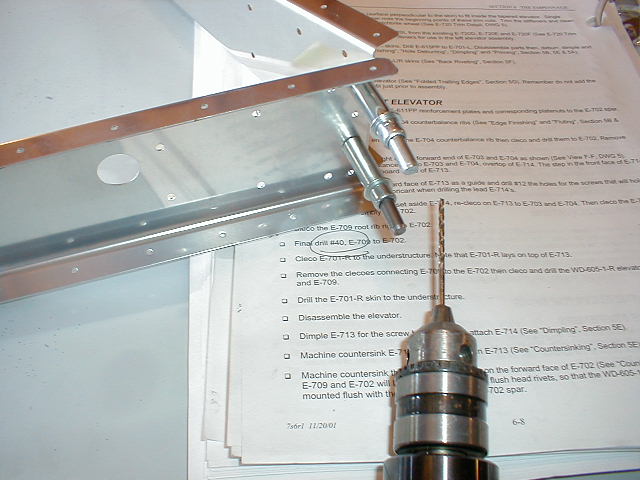
The 703/704 and 713 assembly with the new counter balance positioned for drilling. Be sure and get your pit straight
so that you have proper clearance on the forward flanges of the 703 and 704 to get a nut onto the retaining bolts for the
weight. Getting the 713 to properly wrap around the weight and the 703/704 takes a little work but just one cleco into
the assembly and then work your way out to each end. The holes will line up.
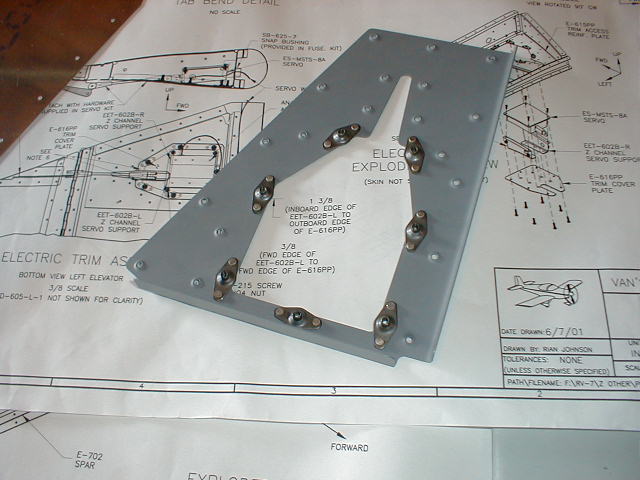
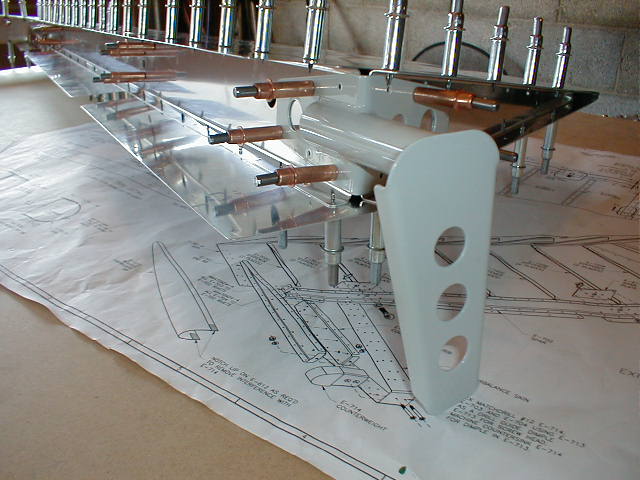
The plans call for countersinking, not dimpling the holes on the 702 spar that attach it to the 709 root rib. Remember
these are #40 holes for AN3 flush rivets. You can see in the picture below the reason for flush rivets. This is
the area where the 605 elevator horn attaches to the spar.
|