|
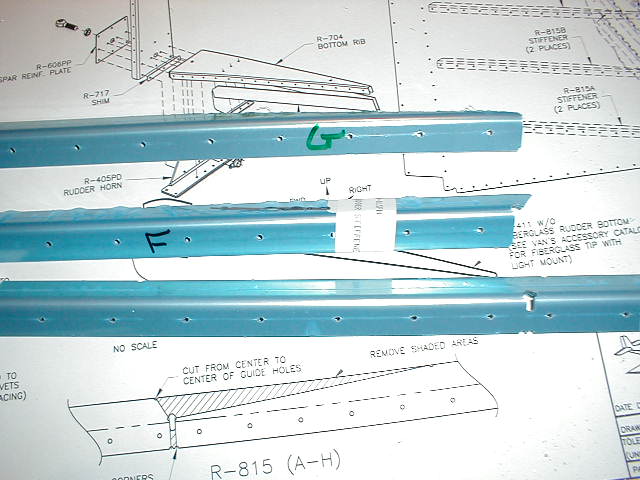
This is a picture of the new rudder 815 stiffeners with pre punched holes and pre marked cutting points.
Looking at the instructions under the bottom 815, you will see how the cuts are made on each stiffener. You cut up to
the far right mushroom head punchout then to the right to the small mark. Look under the "F" mark on the center stiffener
and you will see the small punch mark on the bottom stiffener. This is where you relieve the rest of the material.
You can look at the top stiffener to see how it comes together with no measuring at all, it is all done for you.
Don't worry, the plans show the 815 from the inside radius, you are looking at the outside radius. If you follow the
marks, you can't cut them wrong.
(maybe too strong a statement:-)
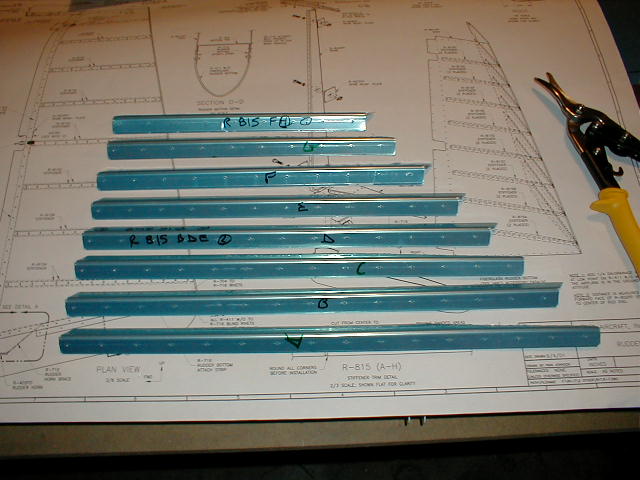
A pair of each in about 20 minutes. Still more cutting to do, but moving right along.
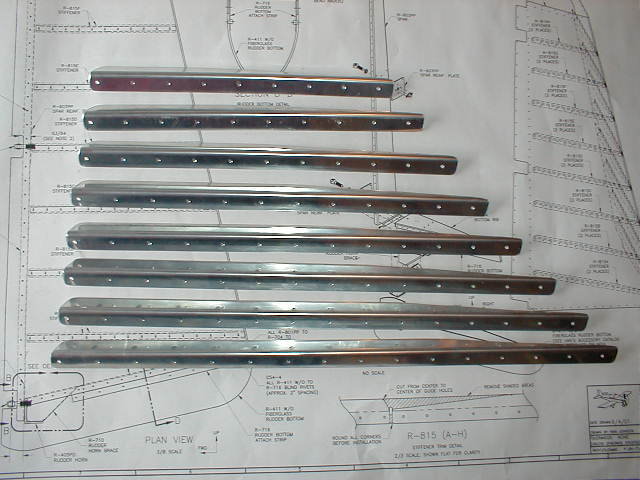
This is about an 1.5 hrs of work but all the 815s have been filed, and Scothbrited with all corners rounded.
Ready to be installed for final drilling.
These 815s have all been final drilled and marked so they can be reinstalled on the same side. Now
to disassemble, deburr and dimple.
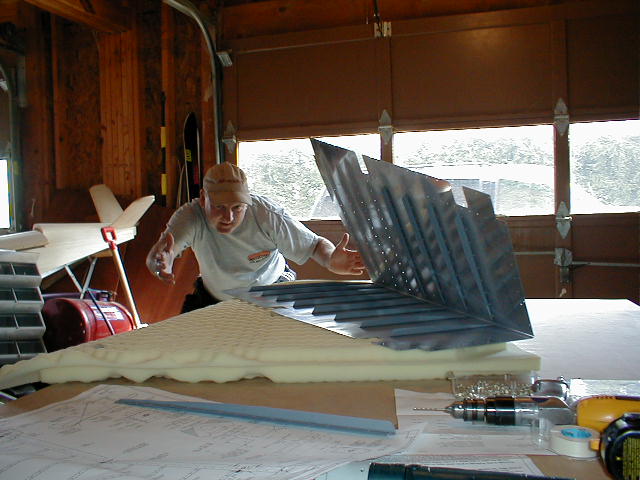
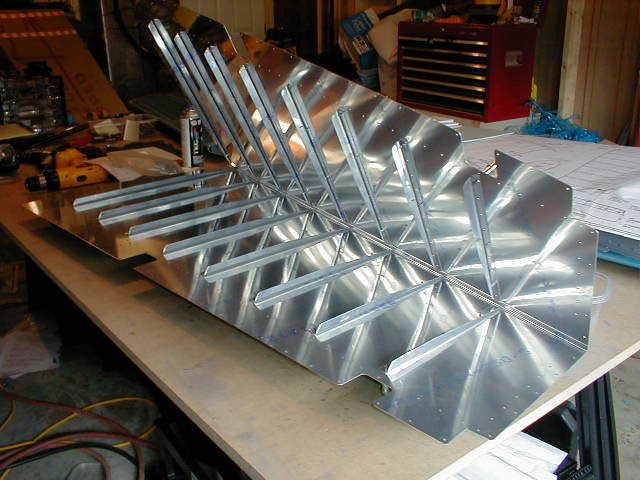
The stiffeners primed and ready to go. This is one of the obligatory........put yourself in the picture
pictures, to meet the requirement for you working on the project.
|